Welcome to the UK Window Cleaning Forums

Starting or own a window cleaning business? We're a network of window cleaners sharing advice, tips & experience. Rounds for sale & more. Join us today!

Fitting LED Strip lights in Van

WCF

Help Support WCF:

ched999uk

Well-known member
Messages
4,768
Location
Lancashire
I have a Peugeot Partner 2019 and racking on the right side blocks most of the rear interior light.
I finally got round to fitting some LED strip light today and it works quite well and is cheap.
I use a 5m roll of SMD3528 12v that I have had for a long time for another project that was sitting in a drawer so I used that.

You can buy 5M SMD3528 12V self adhesive led strip at about £8 on amazon, tick the 50% off to get it at £8 and I would chose daylight colour.

Basically I prised the rear interior light out, normally from bottom edge but my racking was in the way. Then You can either tap into the correct wires of the plug (use a multimeter to work out which and the correct polarity) or what I did was to solder a dc socket onto 2 spare pins on the interior light. The wire next to the red dot is 12v on mine .BackOfLight.jpg
Then I just peeled the backing on the led strip and stuck it onto the roof.
Once you get the connection done it's very easy.
I am pleased with the job as it gives enough light in the back without being too bright.

IMG_20230923_173002_347.jpg
IMG_20230923_172948_565.jpg
 
As an Amazon Associate we earn from qualifying purchases.
I have a Peugeot Partner 2019 and racking on the right side blocks most of the rear interior light.
I finally got round to fitting some LED strip light today and it works quite well and is cheap.
I use a 5m roll of SMD3528 12v that I have had for a long time for another project that was sitting in a drawer so I used that.

You can buy 5M SMD3528 12V self adhesive led strip at about £8 on amazon, tick the 50% off to get it at £8 and I would chose daylight colour.

Basically I prised the rear interior light out, normally from bottom edge but my racking was in the way. Then You can either tap into the correct wires of the plug (use a multimeter to work out which and the correct polarity) or what I did was to solder a dc socket onto 2 spare pins on the interior light. The wire next to the red dot is 12v on mine .View attachment 29195
Then I just peeled the backing on the led strip and stuck it onto the roof.
Once you get the connection done it's very easy.
I am pleased with the job as it gives enough light in the back without being too bright.

View attachment 29196
Just done the same to my van today, must be the thought of winter, Sat thinking when to put the tank I have with immersion back in. Winter will soon be here
 
As an Amazon Associate we earn from qualifying purchases.
Definitely a worthwhile project. I did same on my old Doblo. If you don’t have the lights already eBay will find you a complete kit for between £10 and £20 that comes with all the lights, cables and connectors you need.
 
I see you've insulated your van a lot more than I have, I haven't insulated down the sides or across the center beam as I'll call it so when I do mine today I'll be able to route the cable I think out the back of light along the side and into the center beam as I want my light in the middle to cast as much light as possible from the middle and to the front so I can see when filling and attaching my charger,

If your DIY skills are almost non-existent like mine which @ched999uk is aware of ? just buy a MEDIUM VAN LED LIGHTING KIT it will fit almost any van I assume as you remove a bulb from the light fitting and plug straight into to where the bulb was, the kit comes with everything, but you will need a crimping tool for the bullet connectors and possibly have to strip the wires back a bit.

EDIT:
To add to this upon fitting mine, I had an issue with them not lighting up this was due to the fact that the T10 adapter isn't quite thick enough so doesn't make a good solid contact with the contacts in the light fitting without a wiggle, I might wrap some foil tape around or tin foil to make it thicker, The LEDs are Samsung ones so I hope they stand the test of time, I was also a tad stumped how to remove the original T10 bulb a flat screwdriver from the back pushes it out easily.
 
Last edited:
I had this in my van but found the glue on the strip not to great, started peeling off in places after about 7-8 months & I got the pox of sticking it back on, I went with a 12v led floodlight aimed at the ceiling bounces light everywhere
 
I see you've insulated your van a lot more than I have, I haven't insulated down the sides or across the center beam as I'll call it so when I do mine today I'll be able to route the cable I think out the back of light along the side and into the center beam as I want my light in the middle to cast as much light as possible from the middle and to the front so I can see when filling and attaching my charger,
I just insulated everything I could ? I was thinking that if I insulate the whole roof I can tape the edges to try and create a vapour barrier. Also it was easier not cutting it round things as much.
My 5m strip allowed me to run across the back, down the side, across the centre strengthened beam and back then over the side door, so it's a general light rather than focussed in 1 area. You should be fine with it in the centre.
 
I had this in my van but found the glue on the strip not to great, started peeling off in places after about 7-8 months & I got the pox of sticking it back on, I went with a 12v led floodlight aimed at the ceiling bounces light everywhere
Must admit I am thinking that that might happen as if I remember correctly my 5m strip was only about £2 from Banggood a few years ago and it has been sitting doing nothing so nothing to lose.
 
I just insulated everything I could ? I was thinking that if I insulate the whole roof I can tape the edges to try and create a vapour barrier. Also it was easier not cutting it round things as much.
My 5m strip allowed me to run across the back, down the side, across the centre strengthened beam and back then over the side door, so it's a general light rather than focussed in 1 area. You should be fine with it in the centre.
What sort of insulation did you use mate? I`m thinking about doing the same for mine. Does it make a big difference?
 
What sort of insulation did you use mate? I`m thinking about doing the same for mine. Does it make a big difference?
I bought 50mm x 33m double sided tape and 50mm x 45m silver foil tap both from Toolstation and YBS THERMAWRAP GENERAL PURPOSE INSULATION 10M X 1.05M from Screwfix. It's basically bubble wrap with silver foil on each side, I used the ali tape to try and seal it at all the edges to try and create a sort of vapour barrier.

They were all enough to do the Peugeot Partner with some to spare, I think I could do the roof again. I cut the pieces to side then put strips of double sided tape on the roof and pushed the cut piece into place, then taped all round the edges. I did the roof and behind the side panels.
I noticed a big difference in the amount of condensation on the roof in winter mornings. Everything used to be wet from the big drips from the roof, I fill up when I get home via a van mounted RO - so warmish water going into the tank seems to cause bad condensation. After I insulated I just had the odd day with a very light condensation on the roof, so it's not perfect but for £45 I think it's worth it plus I use an oil rad over night on very cold days and I think it kept the heat in better than before (the ice was still ice on the roof in the morning, even though the rad was on).
I did contemplate taking the cab headlining down and insulating above that as I had a few drops come out of the grab handles on a few occasions but I didn't get round to it.
Toolstation has or had better deals on the foil bubble wrap as I had to buy some to do my new van, after using up some I already had doing the sides of the van, what I found in my old van was that when I fitted the bubble wrap to close to the bulkhead and wasn't able to get any foil tape over the edge I think I created an issue which caused issues with drips coming out of the cab interior light which might be the issue you have experienced last winter,

I might now cover the sides a bit more and the center beam now I have the lights fitted but I'll leave some access to the cable should I need to make any changes, I have to say the lights made a massive difference today made seeing things in the back of the van so much easier, having black flooring and a tank didn't help previously.
 
I bought 50mm x 33m double sided tape and 50mm x 45m silver foil tap both from Toolstation and YBS THERMAWRAP GENERAL PURPOSE INSULATION 10M X 1.05M from Screwfix. It's basically bubble wrap with silver foil on each side, I used the ali tape to try and seal it at all the edges to try and create a sort of vapour barrier.

They were all enough to do the Peugeot Partner with some to spare, I think I could do the roof again. I cut the pieces to side then put strips of double sided tape on the roof and pushed the cut piece into place, then taped all round the edges. I did the roof and behind the side panels.
I noticed a big difference in the amount of condensation on the roof in winter mornings. Everything used to be wet from the big drips from the roof, I fill up when I get home via a van mounted RO - so warmish water going into the tank seems to cause bad condensation. After I insulated I just had the odd day with a very light condensation on the roof, so it's not perfect but for £45 I think it's worth it plus I use an oil rad over night on very cold days and I think it kept the heat in better than before (the ice was still ice on the roof in the morning, even though the rad was on).
I did contemplate taking the cab headlining down and insulating above that as I had a few drops come out of the grab handles on a few occasions but I didn't get round to it.
You might trap the dew point between the bubble wrap and the inside of van. If in the Winter you begin to get small drops of water from the tape then you know why. ?
 
Toolstation has or had better deals on the foil bubble wrap as I had to buy some to do my new van, after using up some I already had doing the sides of the van, what I found in my old van was that when I fitted the bubble wrap to close to the bulkhead and wasn't able to get any foil tape over the edge I think I created an issue which caused issues with drips coming out of the cab interior light which might be the issue you have experienced last winter,

I might now cover the sides a bit more and the center beam now I have the lights fitted but I'll leave some access to the cable should I need to make any changes, I have to say the lights made a massive difference today made seeing things in the back of the van so much easier, having black flooring and a tank didn't help previously.
I did shop round for the tape and bubble wrap but that was last year. Good tip for the bulkhead, I will keep my eye out.

I thought my little smd3528 leds wouldn't be that bright but this evening my booster wasn't working so I had to check the connections and the light where great, I am impressed with them. There was nothing wrong with my booster or the relay system it was the garage consumer unit had tripped the socket circuit ?

Extra insulation is probably a good plan, I might use up what I have left.
 
You might trap the dew point between the bubble wrap and the inside of van. If in the Winter you begin to get small drops of water from the tape then you know
I think you might have hit the nail on the head looking at how @ched999uk has fitted his insulation I think there might be gaps between the roof and the insulation where Ched has brought the wrap down from the roof onto the bulkhead I'd be inclined to double check it and if needed cut it and tape it down with the foil tape.

I wanted to avoid any gaps at all costs so I did mine differently than I did last year in my old van
 
Last edited:
I think you might have hit the nail on the head looking at how @ched999uk has fitted his insulation I think there might be gaps between the roof and the insulation where Ched has brought the wrap down from the roof onto the bulkhead I'd be inclined to double check it and if needed cut it and tape it down with the foil tape.

I wanted to avoid any gaps at all costs so I did mine differently than I did last year in my old van
The laws of physics states that when we have minus outside and plus temp inside then the both must meet. One goes up from minus to positive and the other goes the other way. Where the zero appears is the dew point. In buildings the dew point is usually in the cavity and that's the reason you see small plastic vents in facing bricks and the reason wall ties have that unusual twist in the middle of them. I learned all this at college and its handy to know. Only way to get rid of dew moisture is ventilation and that's the reason some vans have vents in the roof that turn when the van is moving.
 
The laws of physics states that when we have minus outside and plus temp inside then the both must meet. One goes up from minus to positive and the other goes the other way. Where the zero appears is the dew point. In buildings the dew point is usually in the cavity and that's the reason you see small plastic vents in facing bricks and the reason wall ties have that unusual twist in the middle of them. I learned all this at college and its handy to know. Only way to get rid of dew moisture is ventilation and that's the reason some vans have vents in the roof that turn when the van is moving.
Mortar is porous though so more chance of moisture build up in cavities through Autumn and Winter,

insulating a van and prevention of moisture is different different in a van.
 
Mortar is porous though so more chance of moisture build up in cavities through Autumn and Winter,

insulating a van and prevention of moisture is different different in a van.
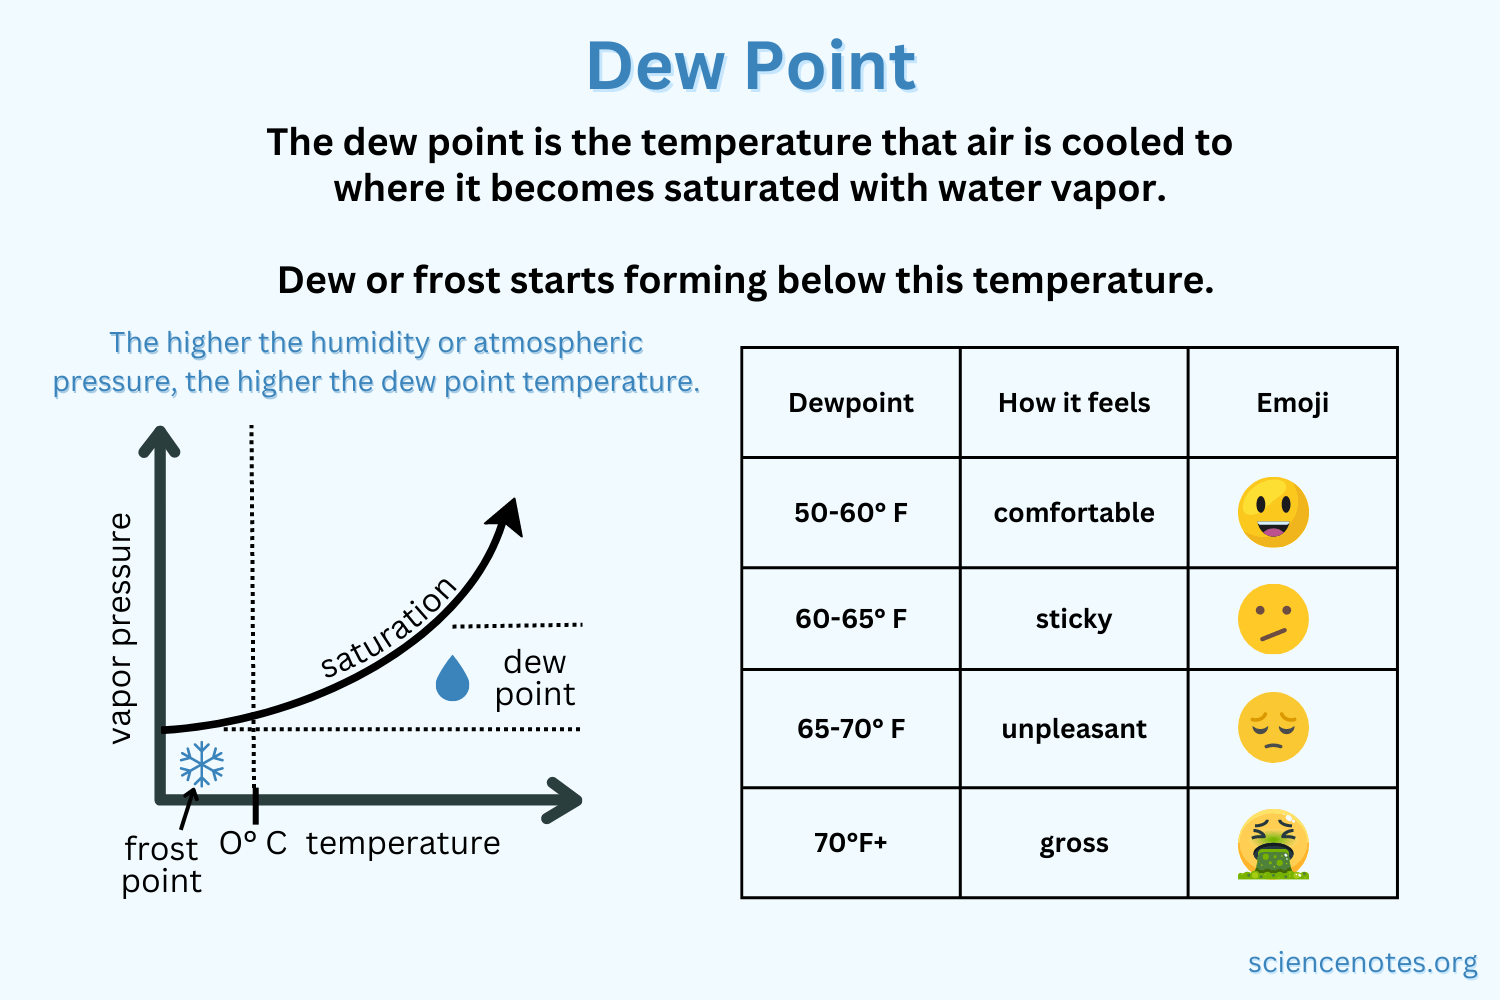
Dew point is all about the temperature (and pressure) where air is saturated with water and allows it to become liquid water instead of water vapour. There will always be moisture in the air - humidity. In the UK our temperatures regularly drop into dew point territory. As we have water tanks in our van they act as a heat source even when not actually heated. This warms up the air in the van which can then hold more moisture (warmer air holds more moisture - hence ventilation reduces air temp - therefore less moisture in the air ) and we always have excess moisture in the back of our vans with damp brushes, cloths etc. The problem is then when this warm damp air hits a surface colder than the dew point - water vapour turns to liquid and we have 'dew' forming. IF we can stop this warm humid air reaching a surface that is below the dew point we will not get dew (condensation) forming.

While in an ideal situation any cavities should be insulated, as long as you can stop the moisture laden air hitting the cold surface then you stop condensation forming.

I may well be wrong about trying to achieve a continuous vapour barrier across the roof by going over the support beams and sealing all edges and holes but it was the best way I could see to stop the moist air hitting the cold roof. Also there will always be air pockets between insulation and the roof unless the whole surface of the insulation is bonded to the roof, I just used double sides tape so there are air pockets it just about stopping the damp air getting to the cold van roof & sides for that matter.

It will be interesting to see how different methods work over the winter as practical tests are always more accurate than the theory :)
 
The laws of physics states that when we have minus outside and plus temp inside then the both must meet. One goes up from minus to positive and the other goes the other way. Where the zero appears is the dew point. In buildings the dew point is usually in the cavity and that's the reason you see small plastic vents in facing bricks and the reason wall ties have that unusual twist in the middle of them. I learned all this at college and its handy to know. Only way to get rid of dew moisture is ventilation and that's the reason some vans have vents in the roof that turn when the van is moving.
You don't need minus temps for dew/condensation to form. For example at an air temp of 10 deg C with relative humidity between 45% and 95% the dew point varies between -1.5 deg C and 9.31 deg C. In the UK average relative humidity in December is 90% so dew point will be about 8.5 deg C so virtually every evening in December the dew point will be achieved!
The plastic vents are mainly to let water out of the cavity that has penetrated the outer face of the bricks as they and the mortar joints are porous. There is also a vapour barrier used to stop moisture from inside the living areas of the house leaking into the wall insulation and causing condensation. Humans expel a lot of moisture just breathing , let alone cooking, drying washing, showering etc. If it was just about ventilation then these little plastic vents would need to be a lot bigger and houses would be a lot colder. Don't get me wrong ventilation inside a house is very important to remove the moisture that living generates but it needs to be accompanied be mitigations caused by our porous building materials - plaster, plaster board, bricks and mortar.

Vapour barriers are the key to stopping moist air reaching a dew point surface..
 

Latest Posts

Back
Top